NEGATIVE SCANNING USING A DIGITAL CAMERA (TECHNICAL)
Since all my photos have been printed analog from negatives using an enlarger, you may wonder how I digitized them for this website. I will try to give a short explanation for those that are interested in the technicalities. I think it will also give some insight into how I work and approach such „projects“, which is part of the purpose of this Log.
I’ve researched scanning a lot over the years. I looked several times into drum scanning but the only way to do it economically would be to buy one and I knew from my experience with the LVT film recorder that using old equipment can be difficult and very time consuming to master. From what I read, drum scanning is much more an art than a science, so getting it running is not the end of it. These also tend to be huge and heavy machines that are impractical to find place for or worse, to move, so I looked into other options. At one point a few years ago I managed to purchase a high end flatbed scanner from a company going bankrupt after the great financial crisis of 2008. Unfortunately, the sale was cancelled before they shipped it when the company realized that they no longer owned the scanner and had the rights to sell it. That particular fox got away.
The upshot was when I decided to finally make a website, I decided that the best and most economical way to digitize my photo artwork was to use a digital camera rather than a scanner. I wanted to end up with digital files that were good enough and of high enough resolution to print digitally in large format, since printing analog had become all but impossible after leaving my home in San Francisco. In December of 2016 I purchased my first digital camera specifically to do this. I figured I might get quality comparable to a higher end scanner and after it was done end up with a great camera as a bonus. I bought a Sony mirrorless camera (A7rii) because it had a relatively high resolution as well as being smaller than other professional cameras, which I doubted I would enjoy carting around. I also got a high quality but affordable macro lens that could resolve nearly all of the camera’s 42mp. These turned out to be great decisions as I saved tens of thousands of dollars it would have cost having them scanned professionally and I could control the process myself which I always want to do.
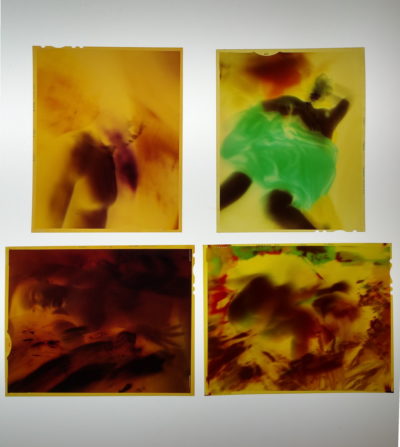
Shot of 4 of my cross processed negs on my light table showing color/exp variation – all the same film type
In an intense couple months, I worked out ways to shoot both negatives and prints, including working out ways to create even higher resolution files by shooting many overlapping images that I could stitch together, but I determined that shooting the prints was the faster and better path forward for me. I found that the color of the light I used to illuminate the negatives was extremely important in getting a good negative scan. For most photographers, this might not be such a hurdle to jump since once you arrive at a good result for one negative type, you can more or less do your whole archive using the same settings. However, my negatives vary tremendously because of the experimental chemical and optical processes I used. Here are four random negatives I pulled out and put on the light table to examine when I was doing the scanning – all nominally the same film type – but with the bleaching and wild exposure differences they don’t scan the same. You may be able to tell from the photo the base emulsions are not the same color.
I found that of the hundreds of negatives I would have to scan, I would have to treat almost each one as if it was shot on a separate film type. On top of that, even after doing my best with a few, I saw that converting the negative digital file to a positive was very similar to printing a negative, which as I have said elsewhere was challenging with many of my negatives. The negative or positive files would have to be digitally burned and dodged too, sometimes extensively. There would be many artistic and technical decisions to make and these would vary for each negative. It would have taken forever.
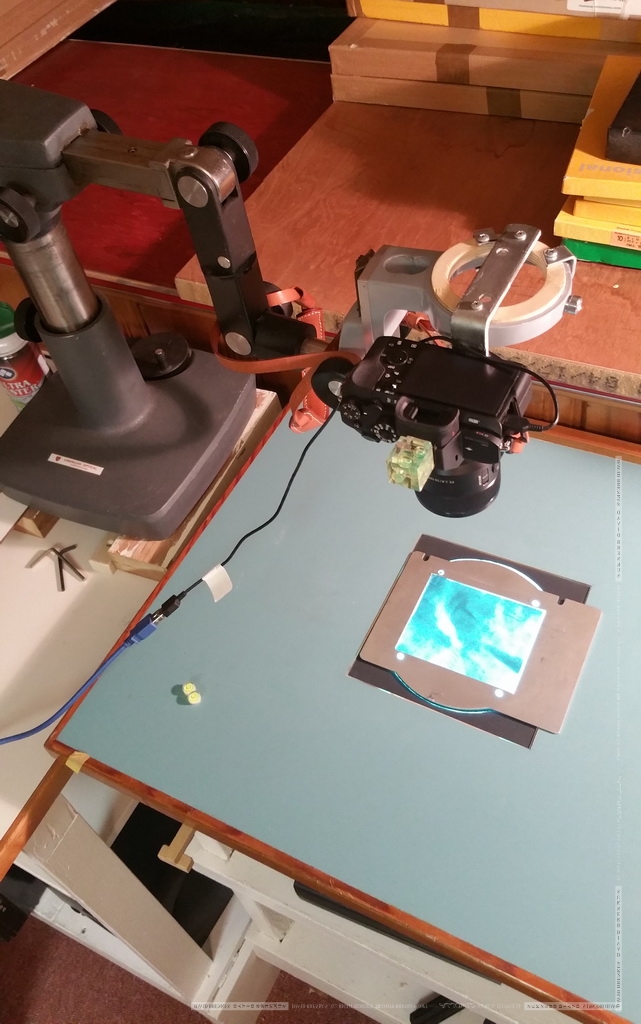
Negative Scanning setup close up 2017
Nevertheless it might be interesting for some to see the negative scanning setup I improvised. I used a stereo microscope stand I’d bought years earlier on eBay to hold the camera as it is built very robustly and allowed me to move the camera in registration to the film plane if I wanted to stitch multiple shots together. The table was an old
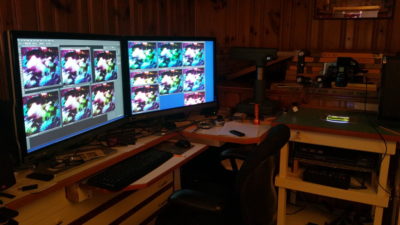
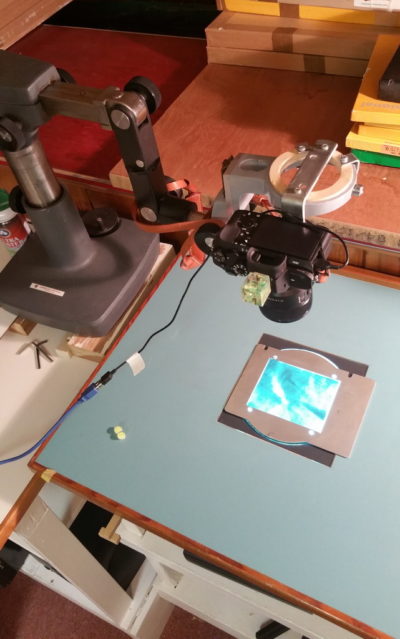
My improvised negative scanning setup 2017
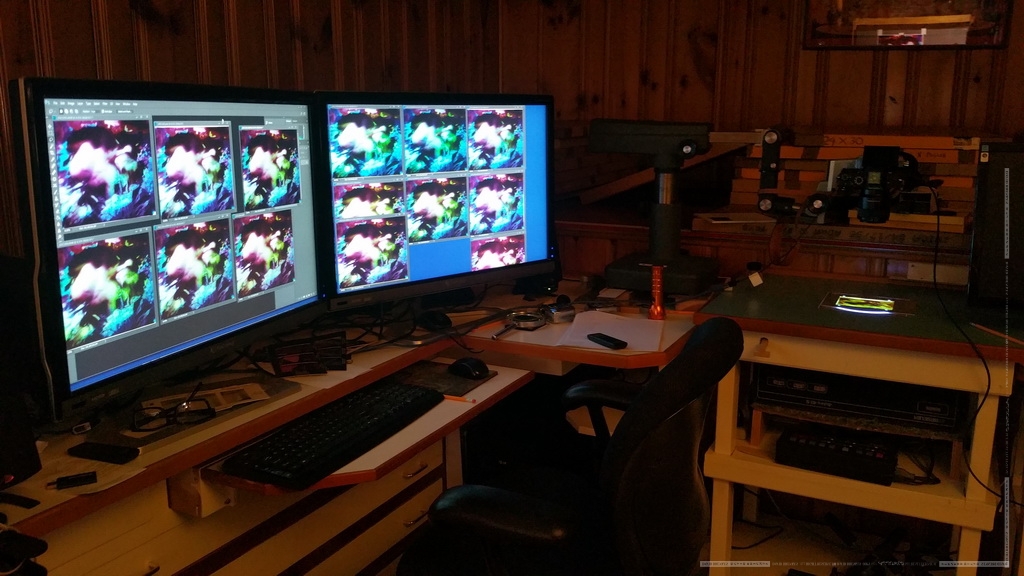
one I’d built for my darkroom that I cut an opening in for the light source, which was an old color enlarger head I’d also gotten years before. Using a color enlarger head is a great idea as it allows you to vary and precisely set the color balance of the light source. I got a piece of optical glass for the top layer where the negative was placed. It had just enough coverage for a 4×5. You can also see here a shot of the whole setup in use which shows how I was struggling with different color balances for a final scan.
What caused me to abandon doing it was time. There simply wasn’t enough to do my portfolio properly much less all the other images I wanted to scan. I would like to revisit negative scanning in future, especially perhaps for negatives that I decided were unprintable earlier, but for my negatives I found the process impractical given the time I had available.