MORE ABOUT SINGLE EXP COLOR

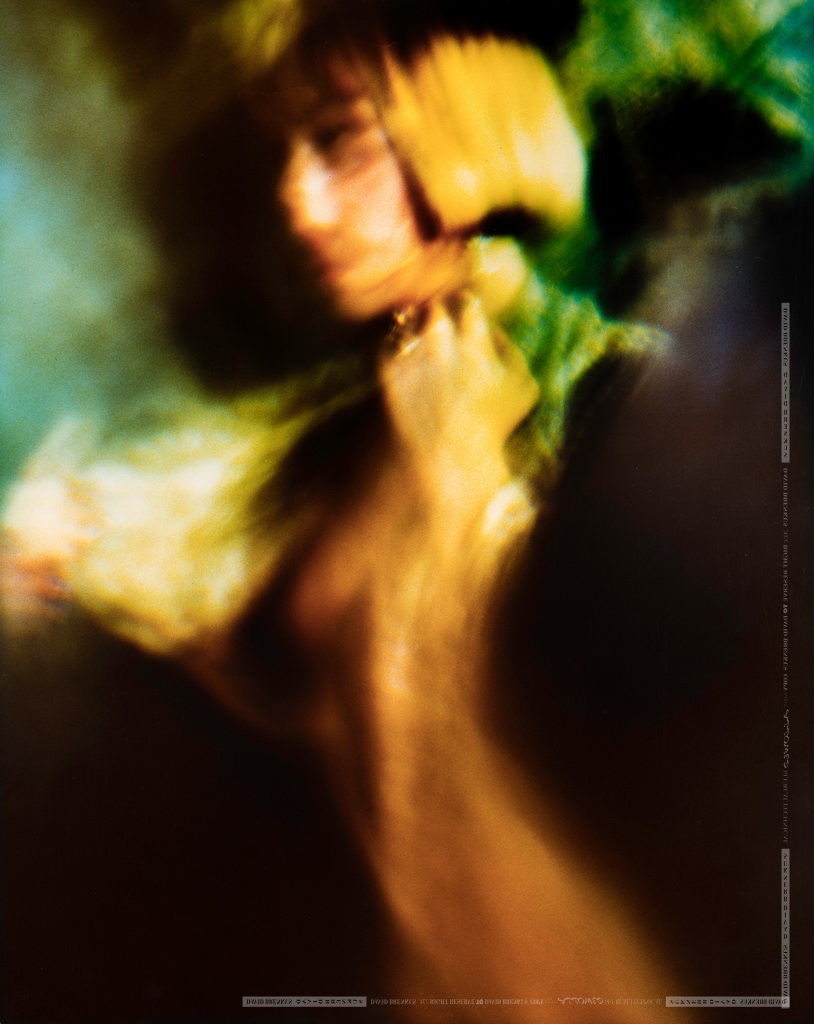
Daniel #3 1992
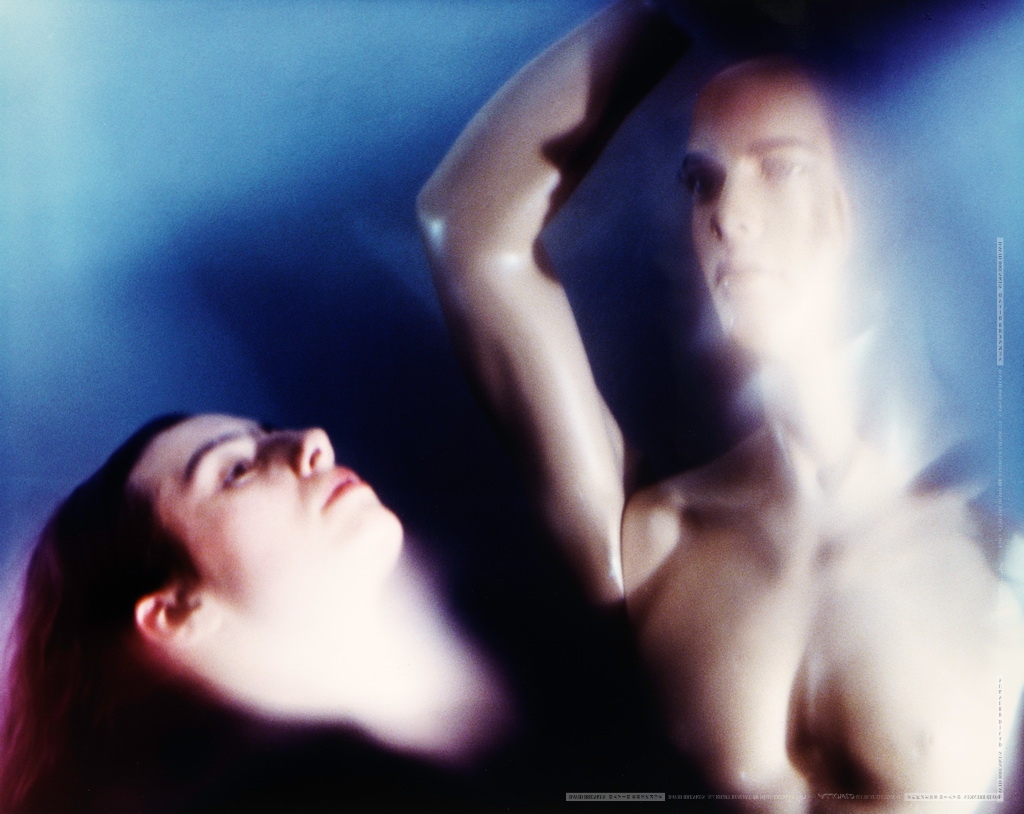
Mannequin 1991
I really couldn’t wait to work with color film so the next thing I did was to see if what I had done with black and white could be transferred to color. I started over just making test shots outdoors or indoors and when my confidence improved in what I was doing, I continued to work with people posing nude. I shot full frame photographs on 4×5 film as before, but using color changed the process and whole experience for me. I tried out a lot of stuff both technically and thematically.
When I used standard negative film it was uninteresting to me, so I started experimenting and found a way chemically to get the color I wanted while trying to take different kinds of photos. I shot instead on 4×5 color slide films and processed them into negatives, but they were stranger, with a wilder color that suited me. In the process I fell in love with color.
I also began working more with lighting and started using colored gels to try to paint colors on the people I shot in my living room. An example of the latter is the nudes I took of Daniel. The final color you see was a combination of factors: my broken glass lenses, the lighting, film and chemical process and printing decisions I made. This became more true with time.

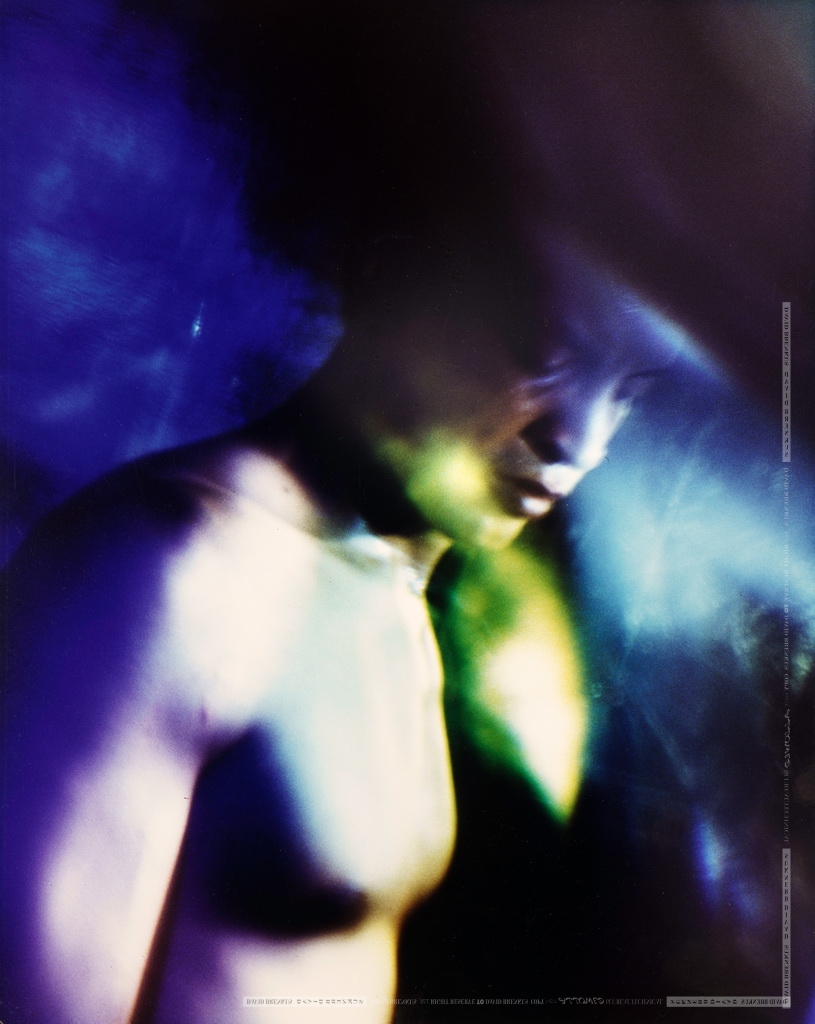
Grace Lace 1991
I began using various materials as reflectors or as backgrounds, and this led me into a choice that lasted years. At one point, I had one wall completely gilded and another painted with aluminum. Mannequin is one of the photos I took in front of the aluminum wall. GraceLace is an example shot in front of the gold wall.
The switch to color also changed how I printed. For Black and White, after a short stint at the CCSF group lab, I was able to do everything in my own darkroom. For reasons of economy, I tested out an image by first printing it 8×10 and then at 11×14, before making the final toned prints at 16×20. Even then it seemed that the larger I printed them the better they looked to me.
Color printing at home was totally impractical so I took a color printing class which allowed me to use the group lab to print outside of class. In time I began making what they called “mural” prints of the most promising images – 30×40 inches in size – and 16×20 became the size I did the initial tests with. The impact of the larger size blew me away and it became my standard practice to print the images I liked best at both sizes.